How Server Hosting Reduces Latency and Enhances Performance for Forex Brokers [CEO Interview at Fazzaco]
Stefano Sordini, CEO at NetShop ISP, speaks to Fazzaco in an exclusive interview, about the impact of Server Hosting in Trading Performance and Latency for Forex Brokers.
The article has been originally published on the 8th of December 2022 by Fazzaco.
NetShop ISP, a European-based Hosting & Data Center provider, has more than a decade of presence in the IT industry, servicing companies in the Fintech, Banking, iGaming, Forex, Blockchain and IT industry.
Today, we have the honor to invite Stefano Sordini, CEO at NetShop ISP, for an exclusive interview with Fazzaco, covering numerous topics such as server hosting, proxy servers, DDoS protection and server deployment.
Fazzaco: What exactly are server hosting and proxy servers and how do they work for forex brokers?
Stefano: Server hosting, in a nutshell, is required to ensure that content like websites and emails can be accessed via the internet. There are different types of hosting like shared hosting, dedicated hosting and VPS hosting, each with different benefits depending on the specific needs of the client.
A proxy server acts as an intermediary between a user’s computer and the internet. The proxy server effectively hides your IP address, providing heightened security, privacy and performance which is essential for any Forex business, especially those using MetaTrader 5 (MT5). In this case, the proxy server will act as a gateway between your clients’ trading terminals and the trading server, meaning your MT5 server will only receive requests from the proxy server, ultimately enhancing the MT5 server’s security.
In addition to security, a proxy server will also become necessary for brokerages as their trading volume increases, as well as those targeting traders in different areas of the world.
To help you understand the benefit of introducing a proxy within MetaTrader’s ecosystem, let’s take a look at the following scenario. A forex broker operates an MT5 Main Trade server hosted in London (UK) whilst the majority of their customers/traders are based in Malaysia.
Without a proxy in place, an order placed from a trader in Malaysia will ‘travel’ across to London to reach the UK-based Trading server where the order will be executed. In Forex trading, execution speed is everything so due to the physical distance between the two countries, it’s almost certain that the trader will suffer from slippage.
On the contrary, if the same Forex broker had a Proxy/Access server deployed in Asia, let’s say Singapore, then slippage would be avoided. This is simply because the Malaysian trader would connect to the Singapore-based Access Server as the MT5 terminal would detect a better latency/connectivity. Orders will eventually be executed in the Main trade server in London, however as they are passed through the Singapore proxy, the price at which the order was placed will be the same as the executed one.
Fazzaco: Can you explain some important parameters in hosting, such as cores, remote access, CPU processors, IP address, etc., and how they would affect transfer speed for forex brokerage business?
Stefano: Any successful brokerage business heavily relies on the sophistication of its server infrastructure. It’s highly recommended that your trading platform is hosted on dedicated servers, more specifically two dedicated servers each located in different data centers, one being used as the main server and the other as a backup. Ideally, the data from the main server should be backed up in real time, and configured similarly to that of the main server.
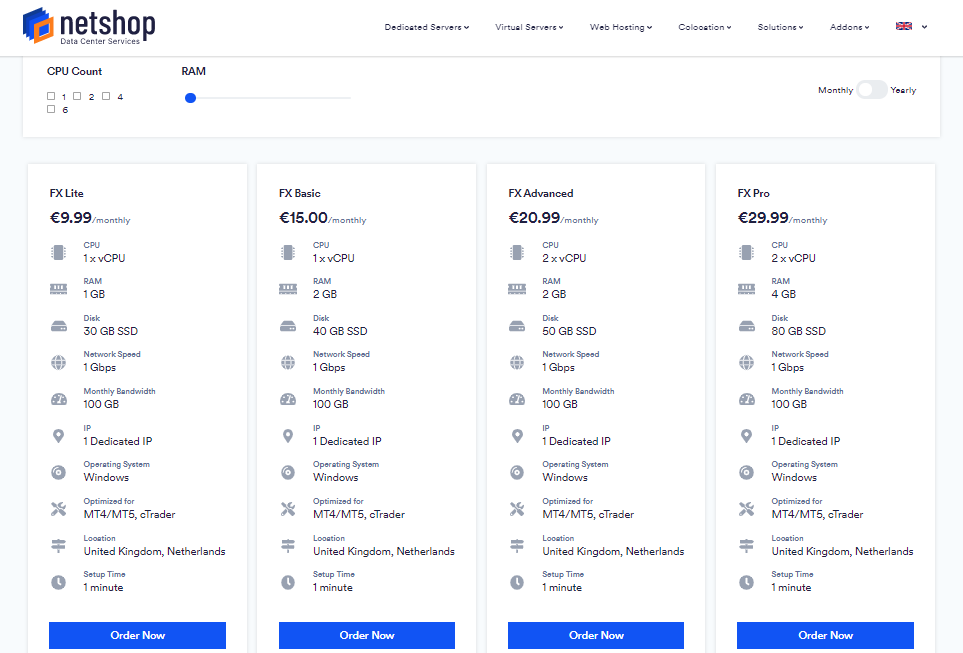
Some more specific technical requirements for Forex brokerages running either MT4 or MT5 include a minimum of 8 GB RAM, at least 100Mbps Internet connection for both download and upload and Intel i7 4th Gen Quad Core. These specs consist the minimum requirements a Trading server could have in order to operate and usually are the specs startup brokers would go for.
The more traders a Forex broker acquires means higher trading activity, and therefore, the trading server must be upgraded (in terms of hardware specs) to cope with the increased demand.
Having said that, I don’t want to give the impression that any server meeting the minimum hardware and network requirements is good for hosting a Trading platform. The majority of the recently onboarded Brokers, reach out to NetShop ISP as they are facing issues with slow orders execution, frequent network disruptions and unexpected server reboots. What we have realized is that some of these Brokers were running their Trading platforms on either virtual machines or quite old bare metal hardware. What I would advise everyone who is facing problems with their trading servers or looking for a reliable hosting provider, is to request more information about the type of server they will be given, and not just the specs of the server. Even if everything looks stable in the beginning, a poor choice of a trading server infrastructure will eventually impact the entire trading experience for the traders with impact, of course, to the Forex broker.
Fazzaco: How helpful is it in reducing latency?
Stefano: Not only is it extremely helpful, it has become absolutely essential to integrate the right trading architecture. In fact, the right hardware could potentially reduce latency up to 50%. When we talk about latency it’s important to understand that latency is not just about the “distance” between the trader’s network and the trading server’s. The trading platform should ensure the minimum latency with its Liquidity Bridge, and subsequently the Bridge needs to have as lower latency as possible with the liquidity provider. In an ideal trading environment, latency across between the trading server and the liquidity end should be as low as below 2ms. On the other hands, an acceptable latency for a trader to avoid slippage is up to 50-60ms. As well as the said hardware and networking requirements, the location of your server is also something that plays a huge role in reducing latency. It’s suggested that Forex Brokers opt for a data center situated in a strategic financial location for the most optimal environment to attain low latency.
Fazzaco: How can you help with DDoS protection?
Stefano: By default, we offer protection against the most common amplification DDoS attacks, like NTP amplification, DNS amplification and SSDP amplification, with no further reconfiguration needed on the customer side. The filtering engine drops the malicious amplified packets, leaving the rest of the traffic intact. This is already included in our billing plans at no additional cost.
Protection against sophisticated and expensive DDoS attacks could also be designed through our partner technology (including MT5 trading server protocol protection) if needed. Pricing for a solution like this could only be estimated after the initial solution engineering process.
I understand that DdoS attacks mitigation services can be expensive (starting from 2-3,000 USD per month) and not all Forex brokers can afford it as a preventive solution. NetShop ISP offers a wide-range of solutions which have provenly helped numerous customers of ours to strengthen their trading infrastructure security whilst keep their expenses low. Some of the solutions we offer are protection via Premium DNS, Web Application Firewall (WAF) and Security Hardening for both the network and servers of a customers. These solutions combined will drastically improve the overall security of a trading infrastructure and, in most cases, Brokers did not have to go for the expensive solution of DdoS Attack mitigation service.
Learn more about NetShop ISP’s DDoS Protection services >>
Fazzaco: What’s your recommendation for forex brokers and start-ups when it comes to server deployment? Should they select a physical one or a virtual one, or both combined?
Stefano: Forex Brokers of any size are highly recommended to go for dedicated servers when it comes to hosting their main trading server. Dedicated resources will guarantee heightened performance, and a dedicated server also ensures increased security and overall flexibility when it comes to the configuration.
Of course, my personal recommendation would be to have the following components as dedicated servers: main trading and history server, main trading backup server. The proxy server can be provisioned as virtual as it does not require high and dedicated specifications to run.
However, for startup brokers with a limited budget, I guess a virtual server can be used for their backup trading server; but in all cases, without a doubt, the main trade server should be physical/dedicated, for all of the aforementioned reasons.
A good physical server does not always have to be expensive. At NetShop ISP we offer dedicated servers with specifications above the minimum that the MetaQuotes software require, at a price which is very reasonable for startup brokers. Of course, as the broker grows along with its clients’ trading volume, they should never forget to revise the infrastructure of the main trade servers, and do any adjustments or upgrades needed to ensure stable and reliable performance.