Stefano Sordini, CEO of data centre services and server hosting provider NetShop ISP, offers his insight into how igaming platforms can achieve the ultra-low latency that is crucial for an optimal user experience to ultimately grow traffic, and thus increase revenue.
There is no doubt that latency destroys interactivity, with igaming operators relying on high-end technologies and sophisticated infrastructure to overcome it. With players becoming increasingly less forgiving, online casinos and sportsbook platforms need to meet user expectations in order to be successful – and low latency is the very foundation to achieving this.
Latency, put simply, is the time it takes for data to “travel” from one point on a network to another. For instance, if a live dealer studio in Armenia streams video for an online casino company whose server is hosted in Malta, with players interacting globally, the data will travel from Armenia to Malta and then to the rest of the world.
A long delay between the cards being dealt in Armenia, to when the player sees them and subsequently places their bet, needs to be short enough to not hinder the responsiveness of the experience.
Low latency is absolutely essential
The same is applied for sportsbook platforms. When players are betting on live games, low latency is absolutely essential. When the video streaming is slower than the gameplay or the broadcasting quality is poor, betting integrity is entirely lost. For any live streaming platform handling financial transactions in real time, every second matters, hence player engagement is heavily reliant on ultra-low latency.
Not only is high latency a hindrance to a website’s performance, poor loading times can also diminish all SEO efforts and negatively impact search engine rankings. Therefore these gambling websites will not only struggle to retain users, but also to gain them in the first place. With the importance of low latency established, let’s take a look at how it can be achieved.
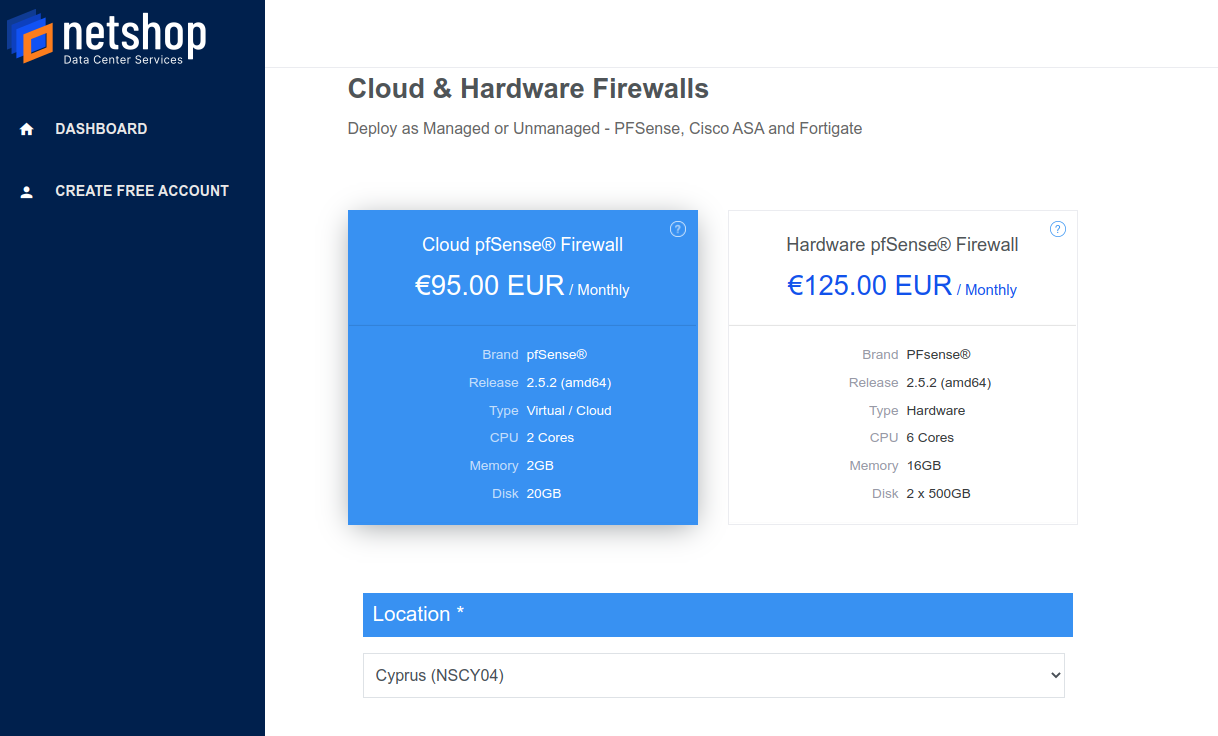
Utilising certain software and frameworks, as well as implementing an advanced network infrastructure have become prerequisites for igaming providers. For any live streaming platform, it’s fundamental to adopt these technologies in order to support multiple integrated systems and ensure the high-speed transfer of data to and from the end-users (players).
WebRTC becoming increasingly popular
WebRTC technology in particular, has become increasingly popular for igaming platforms by accommodating fast multimedia transfer from source to destination. Compatible with all mobile devices and supported by all major developers, WebRTC provisions the real-time transfer of data without delay, enhancing engagement and the user experience.
Beyond that, it’s integral for your network infrastructure to be streamlined in order to successfully achieve ultra-low latency. For this to be attainable, your hosting provider needs to offer a number of key resources. A player’s uninterrupted activity is dependent on the servers’ network speed and bandwidth, meaning dedicated network speed and flexible bandwidth both play a key role in the overall user experience. Dedicated network speed guarantees that your server is entitled to a specific speed for downloading and uploading data. Although this may be more expensive than shared network speed, it is critical in order to accommodate the fast transmission of large media types, like video streaming, to players.
Whilst network speed refers to the speed at which data can be sent and received, bandwidth denotes how much data can be sent and received at once, which is equally as important. In essence, you don’t want to be capped once your servers have reached the allocated amount of monthly traffic.
It is common in the igaming sector that a server will utilise low bandwidth during weekdays, and large spikes on weekends. Therefore, it is important that your hosting provider can offer uncapped or unmetered bandwidth to your hosted infrastructure for optimal performance.
CDNs are also commonly implemented by igaming operators in order to reduce network latency. A content delivery network (CDN) utilises a global network of servers in order to streamline the delivery of downloads by caching content in multiple points of presence (PoPs) all around the world, meaning users can access it from the PoP closest to them. A CDN ultimately improves performance, scalability and the overall user experience for a global audience.
IT location choice is make or break
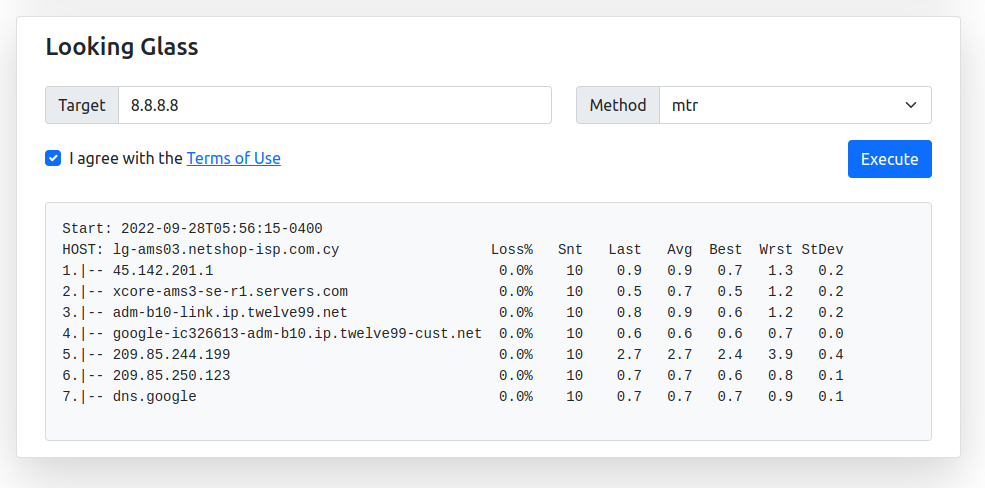
Lastly, your server and infrastructure’s geo-location also greatly contributes to the network latency you could face. For any igaming business, the choice of location of its IT infrastructure can be a make or break decision. However, oftentimes within the igaming sector, regulatory compliance may potentially affect the decision of where to host your infrastructure.
Let’s take our earlier example of an online casino business based in Malta operating a live dealer studio in Armenia. The Malta-based business would be granted an MGA licence and, as per the current regulatory framework at the time of writing this article, would be allowed to host its infrastructure in any European data centre, as long as a replication database is hosted in Malta.
With that being said, the company must take into consideration the optimal location to host its primary infrastructure, in line with compliance. In this scenario, a location like Amsterdam would be ideal for utilising high-speed internet at a low cost, as well as benefiting from the Netherlands’ prevalence within the igaming industry.
High latency can be detrimental for any online business, but for an online gambling business the ‘stakes’ are even higher. By implementing these key resources, strategic decision-making and the right technology partners, the ultra-low latency required to surpass customer expectations will not only be achievable, but also highly profitable.
Source: https://sbcnews.co.uk/featurednews/2022/09/20/netshop-isp-low-latency/