How To Install Operating System in Bare Metal Servers using iDRAC without USB or DVD
In this article we will demonstrate how you can easily install any Operating System (Windows, Linux, VMware ESXi, etc) on a server in a remote location without the need of a USB or DVD physically attached on the server. For this tutorial we have used a DELL PowerEdge R720xd server with Enterprise iDRAC.
A common task for system administrators, in 2021, is the deployment of bare metal servers in remote locations where no physical access to the server is possible. In addition to the challenging task of a remote OS installation, more complexity is added when you have to deal with multiple server OS deployments in parallel.
In this article we will demonstrate how you can easily install any Operating System (Windows, Linux, VMware ESXi, etc) on a server in a remote location without the need of a USB or DVD physically attached on the server.
For the purpose of this How-to article we have been using a DELL PowerEdge R720xd bare metal server with iDRAC 7 Enterprise license. You can follow the steps below for any other DELL PowerEdge chassis you may have, as long as it comes with an Enterprise iDRAC which will give you access to all of the features and functionality described in this article.
What is iDRAC
iDRAC stands for Integrated Dell Remote Access Controller and it is an out-of-band management platform provided on certain Dell systems, like the PowerEdge. The platform may be provided on a separate expansion card (DRAC), or integrated into the main board (iDRAC).
System administrators can use iDRAC to manage and monitor the server hardware via a browser-based (GUI) platform, or a command-line interface.
Pre-requisites
Below is a list of everything you will need to have in place in order to successfully complete an OS installation using iDRAC based on our tutorial.
- DELL PowerEdge Server
- iDRAC Enterprise license
- Static IP configured for iDRAC on your DELL Server
- Active Network Connection (NIC and/or iDRAC card)
Remote Installation of Operating System using iDRAC
Step 1: Login to iDRAC
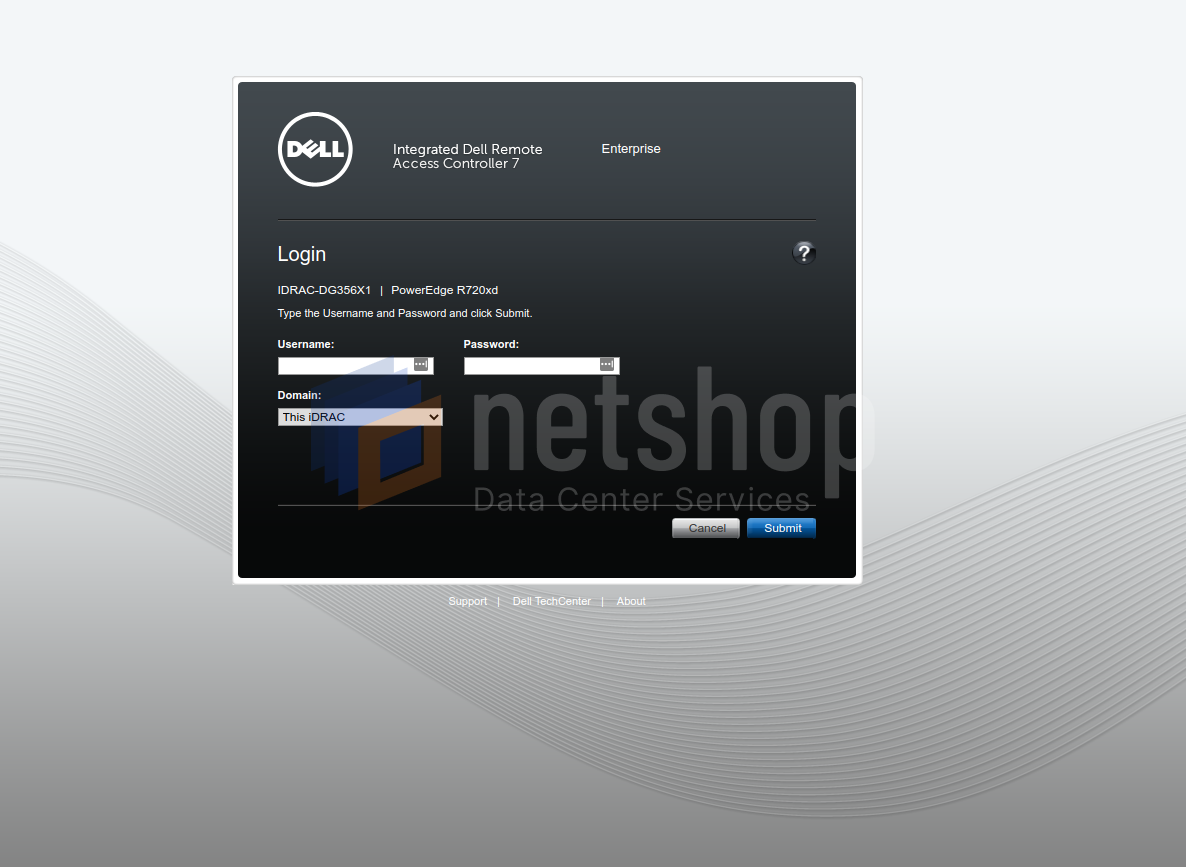
Using a web browser, navigate to the IP address you have previously configured for iDRAC access. As shown below, you will be present with a login screen. The default login credentials for iDRAC are:
username: root
password: calvin
For security reasons it is highly recommended that you change the default password to a strong one, to prevent a successful, yet unauthorized access on your system from intruders.
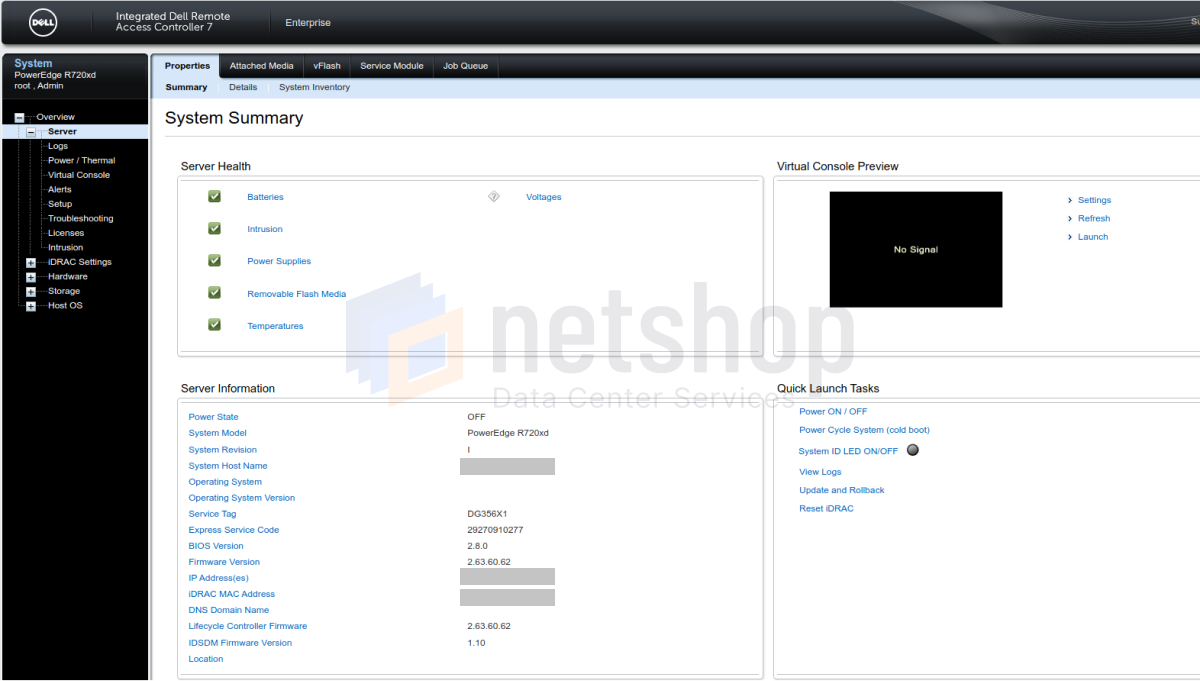
Upon successful login you will see iDRAC’s Administration page as shown below.
Step 2: Configure Virtual Console Settings
From the left-side menu click to expand Overview > Server and then click on the “Virtual Console” link. As shown in the screenshot below, check to Enable Virtual Console and in the “Plug-in Type” choose “HTML5“. This is recommended versus the Java option, so you can work with virtual console on your browser without requiring any special java components installed on your local computer.
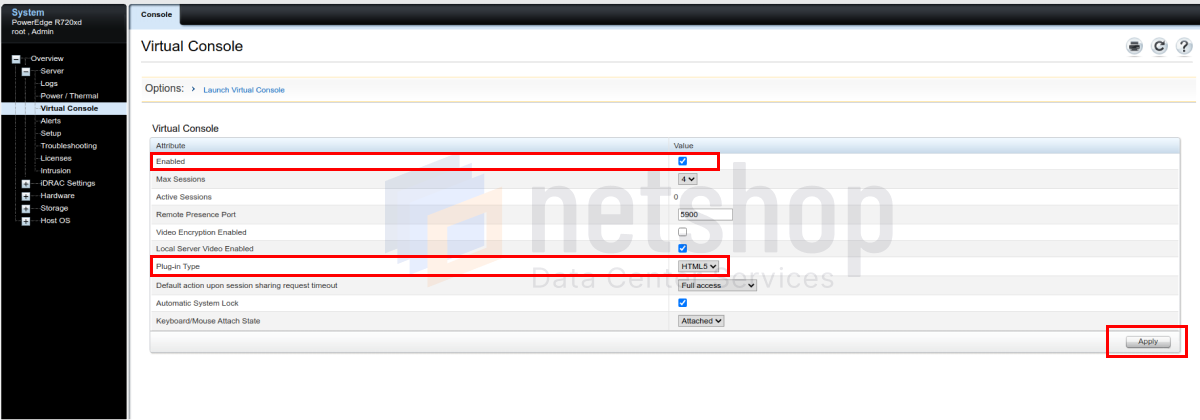
Once done, click Apply to save the changes.
Step 3: Launch Virtual Console
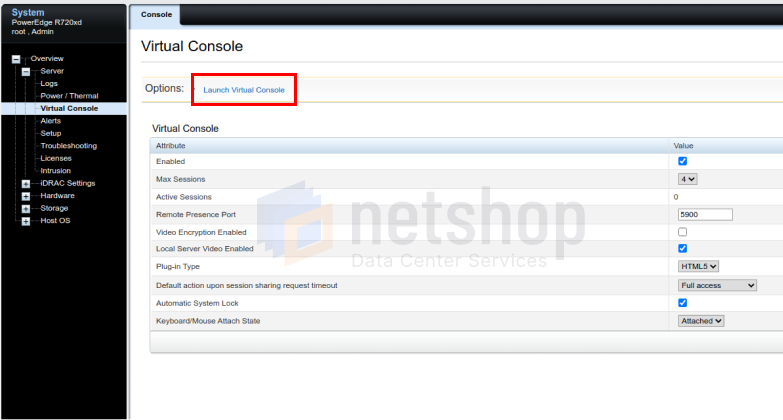
Upon reload of the page, click the “Launch Virtual Console” found on the top of the page as shown below.
Step 4: Attach ISO Media
A new browser window will open which means you have now connected remotely to the Virtual Console of your bare metal server. If you are prompted with any messages about popup window being blocked, please mark the URL as safe for popups and reload the new window.
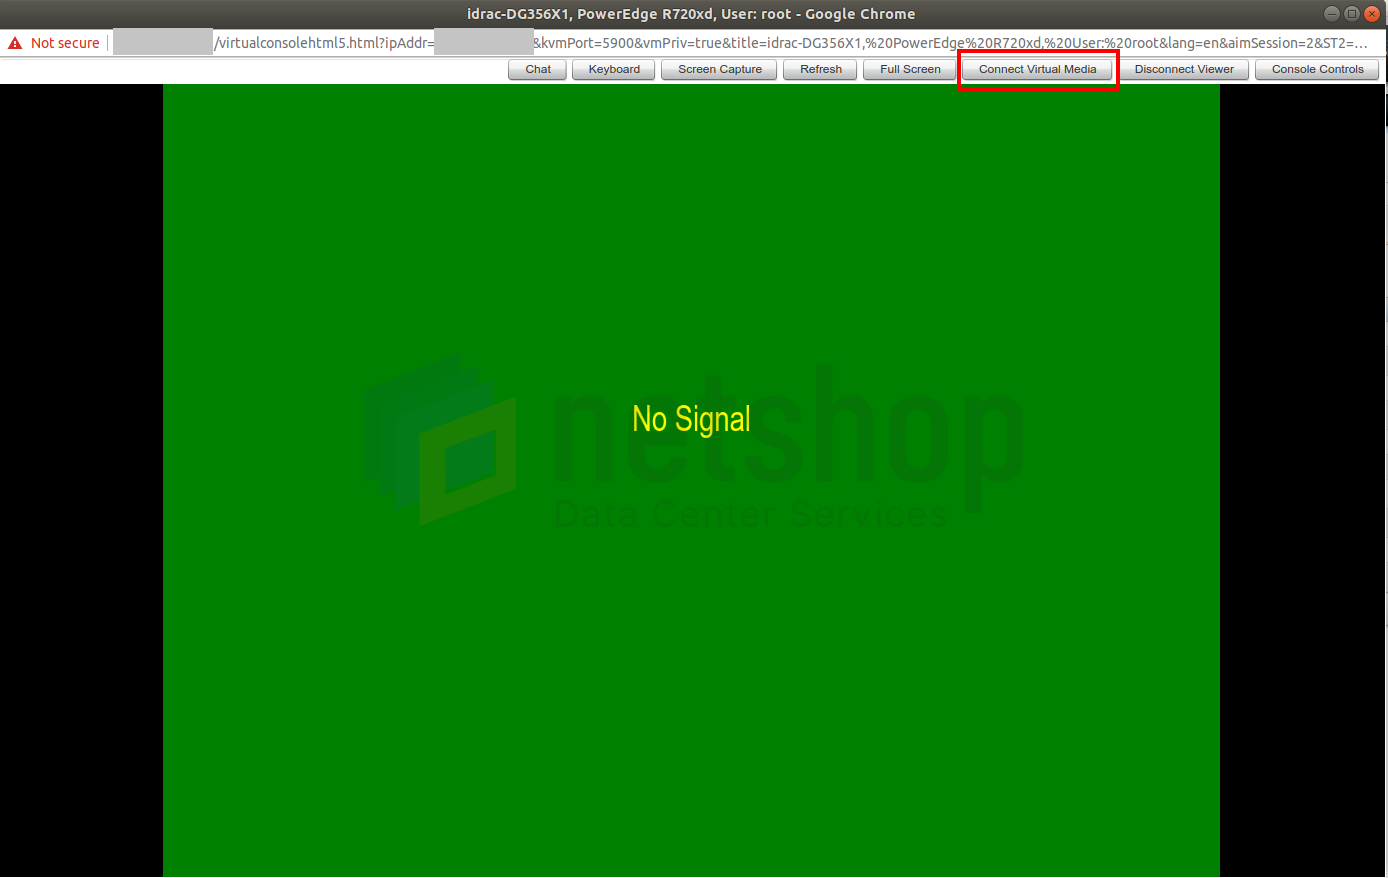
The fourth and final step is to upload the Virtual Media (.iso file) from your local computer to the server. To do so, click the “Connect Virtual Media” from the top menu of your virtual console window, Browse to find the media file (OS image) of your choice, and click the “Map Device” button.

The media will be immediately available to your bare metal server. Use the iDRAC web interface to reboot the server. During the boot process, access the Boot menu and select the option to boot through the Virtual CD.
Congratulations! You can now proceed to the installation of your Operating System!
Get permanent iDRAC Access on your Bare metal Servers
NetShop ISP deploys hundreds of bare metal dedicated servers for customers around the world. All our servers are rack-mountable, DELL PowerEdge systems that come with Integrated Dell Remote Access Controller (iDRAC). This is very useful if you would like to manage the Operating System installation by yourself. Additionally, access on your server via iDRAC can some times be lifesaver should the server unexpectedly reboots or loses public network connectivity.
Permanent Enterprise iDRAC is offered for €20 per month and you can request it by contacting your account manager or dropping an email to sales at netshop-isp.com.cy.