How to Install Nginx, MariaDB, PHP-FPM on AlmaLinux 9 Server (LEMP)
In this article we will provide a step-by-step guide to installing LEMP on your AlmaLinux 9 Server.
The LEMP stack is a popular web development stack consisting of four key components: Linux, Nginx, MySQL and PHP, each of which play a crucial role in web application development and hosting.
In this article we will provide a step-by-step guide to installing LEMP on your AlmaLinux 9 Server.
Prerequisites
- Server with AlmaLinux 9 OS installed
- SSH Access with root or sudo-privileged user
Steps to Install LEMP on AlmaLinux 9
Step 1: Switch to root user
First, switch to the root user using the following command. Unless stated otherwise, all subsequent commands must be executed as the root user.
jim@server:~$ sudo –iStep 2: Install NGINX
Install Nginx by running the following command.
yum install nginx
Step 3: Enable NGINX on boot
Ensure Nginx is running and started on boot.
root@server:~$ systemctl enable --now nginxNow let’s check the status of Nginx with the following command:
root@server:~$ systemctl status nginxSample Output: ● nginx.service - The nginx HTTP and reverse proxy server Loaded: loaded (/usr/lib/systemd/system/nginx.service; enabled; preset: disabled) Active: active (running) since Sun 2023-09-10 19:45:10 EEST; 5s ago Process: 1650 ExecStartPre=/usr/bin/rm -f /run/nginx.pid (code=exited, status=0/SUCCESS) Process: 1651 ExecStartPre=/usr/sbin/nginx -t (code=exited, status=0/SUCCESS) Process: 1652 ExecStart=/usr/sbin/nginx (code=exited, status=0/SUCCESS) Main PID: 1653 (nginx) Tasks: 3 (limit: 7462) Memory: 2.7M CPU: 14ms CGroup: /system.slice/nginx.service ├─1653 "nginx: master process /usr/sbin/nginx" ├─1654 "nginx: worker process" └─1655 "nginx: worker process" Sep 10 19:45:10 almalinux systemd[1]: Starting The nginx HTTP and reverse proxy server... Sep 10 19:45:10 almalinux nginx[1651]: nginx: the configuration file /etc/nginx/nginx.conf syntax is ok Sep 10 19:45:10 almalinux nginx[1651]: nginx: configuration file /etc/nginx/nginx.conf test is successful Sep 10 19:45:10 almalinux systemd[1]: Started The nginx HTTP and reverse proxy server.
Step 4: Install MariaDB
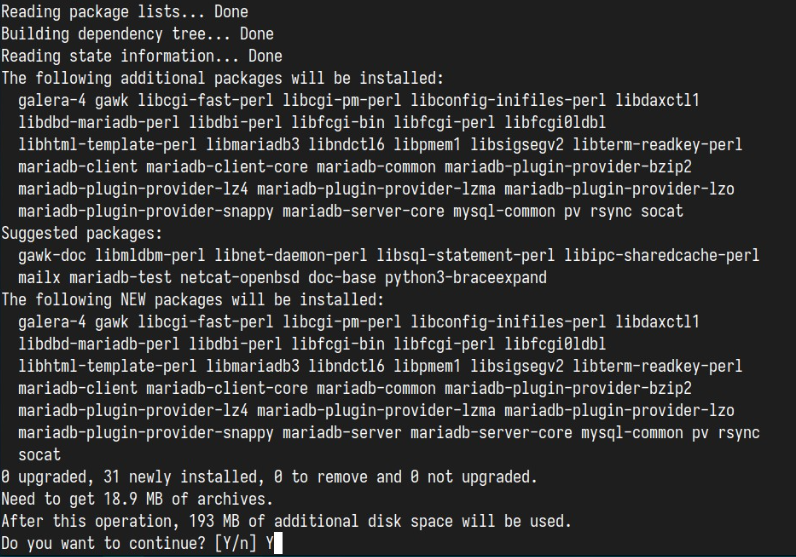
Next step is to install MariaDB by running the following command.
root@server:~$ yum install mariadb-serverStep 5: Enable MariaDB to start on boot
Ensure MariaDB is running and started on boot using the following command:
root@server:~$ systemctl enable --now mariadbNow check the status of MariaDB by executing this command:
root@server:~$ systemctl status mariadbSample Output:
● mariadb.service - MariaDB 10.5 database server
     Loaded: loaded (/usr/lib/systemd/system/mariadb.service; enabled; preset: disabled)
     Active: active (running) since Sun 2023-09-10 19:48:07 EEST; 4s ago
        Docs: man:mariadbd(8)
              https://mariadb.com/kb/en/library/systemd/
     Process: 3249 ExecStartPre=/usr/libexec/mariadb-check-socket (code=exited, status=0/SUCCESS)
    Process: 3271 ExecStartPre=/usr/libexec/mariadb-prepare-db-dir mariadb.service (code=exited, status=0/SUCCESS)
    Process: 3370 ExecStartPost=/usr/libexec/mariadb-check-upgrade (code=exited, status=0/SUCCESS)
   Main PID: 3354 (mariadbd)
      Status: "Taking your SQL requests now..."
      Tasks: 15 (limit: 7462)
     Memory: 75.4M
        CPU: 376ms
     CGroup: /system.slice/mariadb.service
             └─3354 /usr/libexec/mariadbd --basedir=/usr

Sep 10 19:48:07 almalinux mariadb-prepare-db-dir[3310]: you need to be the system 'mysql' user to connect.
Sep 10 19:48:07 almalinux mariadb-prepare-db-dir[3310]: After connecting you can set the password, if you would need to be
Sep 10 19:48:07 almalinux mariadb-prepare-db-dir[3310]: able to connect as any of these users with a password and without sudo
Sep 10 19:48:07 almalinux mariadb-prepare-db-dir[3310]: See the MariaDB Knowledgebase at https://mariadb.com/kb
 Sep 10 19:48:07 almalinux mariadb-prepare-db-dir[3310]: Please report any problems at https://mariadb.org/jira
 Sep 10 19:48:07 almalinux mariadb-prepare-db-dir[3310]: The latest information about MariaDB is available at https://mariadb.org/.
Sep 10 19:48:07 almalinux mariadb-prepare-db-dir[3310]: Consider joining MariaDB's strong and vibrant community:
Sep 10 19:48:07 almalinux mariadb-prepare-db-dir[3310]: https://mariadb.org/get-involved/
 Sep 10 19:48:07 almalinux mariadbd[3354]: 2023-09-10 19:48:07 0 [Note] /usr/libexec/mariadbd (mysqld 10.5.16-MariaDB) starting as proces>
Sep 10 19:48:07 almalinux systemd[1]: Started MariaDB 10.5 database server.
Step 6: Install PHP-FPM
Next Install PHP FastCGI Process Manager by running the following command.
root@server:~$ yum install php-fpmStep 7: Enable PHP-FPM on boot
Ensure that PHP FastCGI Process Manager is running and started on boot.
root@server:~$ systemctl enable --now php-fpmYou can check the status of the PHP FastCGI Process Manager with this command:
root@server:~$ systemctl status php-fpmSample Output:
● php-fpm.service - The PHP FastCGI Process Manager
     Loaded: loaded (/usr/lib/systemd/system/php-fpm.service; enabled; preset: disabled)
     Active: active (running) since Sun 2023-09-10 19:52:10 EEST; 5s ago
   Main PID: 3578 (php-fpm)
     Status: "Ready to handle connections"
      Tasks: 6 (limit: 7462)
     Memory: 8.1M
        CPU: 25ms
     CGroup: /system.slice/php-fpm.service
             ├─3578 "php-fpm: master process (/etc/php-fpm.conf)"
             ├─3579 "php-fpm: pool www"
             ├─3580 "php-fpm: pool www"
             ├─3581 "php-fpm: pool www"
             ├─3582 "php-fpm: pool www"
             └─3583 "php-fpm: pool www"

Sep 10 19:52:10 almalinux systemd[1]: Starting The PHP FastCGI Process Manager...
Sep 10 19:52:10 almalinux systemd[1]: Started The PHP FastCGI Process Manager.
Step 8: Assign nginx user for php-fpm
The default user under which php-fpm runs is Apache. In this case, we are using Nginx instead of Apache so we need to update the php-fpm configuration accordingly. Run the following command to open the php-fpm default configuration for editing.
root@server:~$ vi /etc/php-fpm.d/www.confNear the top of the file, you will see the following:
; Unix user/group of processes
; Note: The user is mandatory. If the group is not set, the default user's group
;       will be used.
; RPM: apache user chosen to provide access to the same directories as httpd
user = apache
; RPM: Keep a group allowed to write in log dir.
group = apache
Change the lines starting with user and group (see in bold) to the following:
user = nginx
group = nginx
Step 9: Restart PHP-FPM
Save the file after you complete the previous step and exit, then restart php-fpm by running the following command.
root@server:~$ systemctl restart php-fpmStep 10: Restart Nginx and PHP-FPM
Use the following commands to restart nginx and php-fpm:
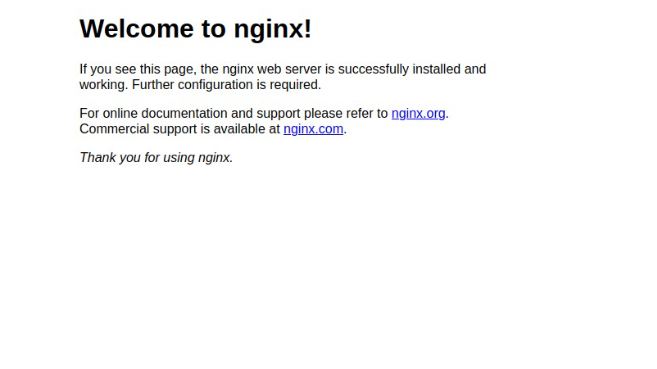
systemctl restart nginx php-fpmCongratulations! Now visit http://SERVER_IP/ (make sure to replace SERVER_IP with the IP of your server) and you should see the default NGINX landing page.
You have successfully installed LEMP (Linux, NGINX, MariaDB, PHP-FPM) on Almalinux 9 Server!
Deploy LEMP Server with NetShop ISP
NetShop ISP is a proud supporter of the AlmaLinux OS Foundation. We have been one of the first hosting providers to have included AlmaLinux in the list of supported Operating Systems.
Browse through our extensive list of Virtual Servers and Dedicated Servers plans , choose your desired location and deploy! For custom configurations use our Custom Server Quote tool or Contact us today!